Beat The Cold and Save Money by Learning How to Seal Windows for Winter!
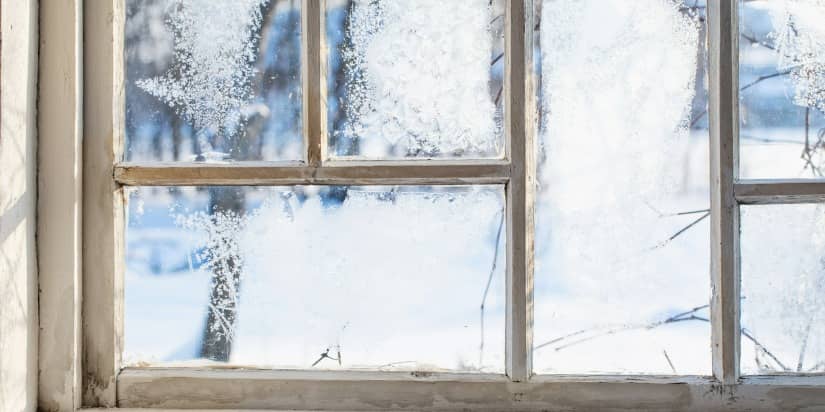
Have you noticed your furnace continuously running, struggling to keep your home warm? You might have also started feeling cold spots by your windows. Unfortunately, your windows might be the reason your furnace can’t catch a break.
Leaky and drafty windows are a common problem among older houses, especially in the winter. They make you spend more money on energy bills even though you’re still cold! Did you know that heat lost through windows can account for a quarter of your bill? We want to help you save money and keep the heat inside your home.
So how do you keep cold air from coming in your windows? In this blog, we will show you how to do multiple methods for sealing your windows and the pros and cons of each so that you can choose the best one for your home. Keep reading to learn more options on how to seal windows for winter!
First, Prepare Your Windows
With any of the methods below, you’ll want to do some basic beginning steps to get started sealing your windows for winter.
First, locate the leaks in your windows. That way, you can focus on the drafty windows and not spend too much time and money fixing every window.
Second, remember to lock your windows. This step will help ensure a tighter seal around your window frame.
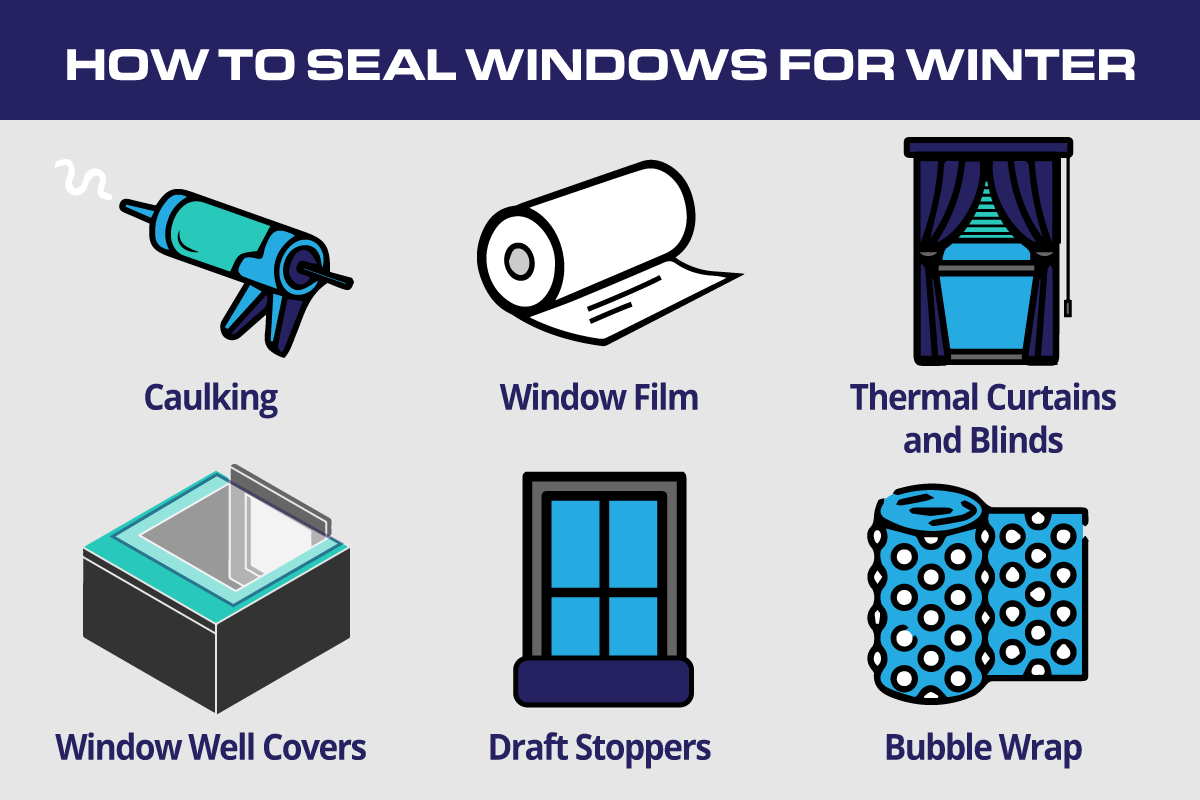
Caulk Your Windows
One of the best ways to winterize windows is by caulking them. Essentially what you’re doing is re-caulking the windows where old caulk dried up and isn’t properly insulating your windows anymore. You’ll have to venture a little into the do-it-yourself world, but caulking is pretty simple.
How to Caulk Your Windows
You’ll want to get a caulking gun and high-quality caulk to fill the drafts in your window. Once you do, here are some steps to follow to caulk your windows properly:
- Before getting started, scrape off any old caulk or paint chips from the interior and exterior side of the window. It might also be helpful to wash your window.
- Once that’s complete, use the caulking gun to apply caulk around the exterior perimeter of the window, where the frame meets your house.
- Next, caulk the interior side of your window between the window frame and siding.
- After you’ve finished this with the windows you want to seal, let the caulk dry overnight.
How to Add Temporary Caulk
You can also use temporary caulk to seal your entire window for the winter. Temporary caulking is different from regular caulking because you can remove it when the season is over. This option is best if you don’t plan on opening the window at all during the winter season.
You will use the same steps above for normal caulking, then add temporary caulking around your entire window. Make sure you purchase removable caulk that peels away when you’re ready to take it off. It can be a problem if you use normal caulk for your entire window.
This option is very cost-effective and simple to do. Caulking also gives your house a nice refreshing look. It isn’t very noticeable because caulk already keeps your windows in place. The downside is that it may take time to clean up your windows and caulk them. You might also not want to do this if it’s already cold outside.
 Apply Window Film and Insulation
An easy and simple way to seal your windows for winter is by applying window film and insulation. You can apply all insulating film from inside your home, so you won’t have to worry about venturing out into the cold for too long.
There are a few options you can choose from when it comes to a window seal kit:
- Plastic Film
- Magnetic Film
- Foil Insulation
We will look at each of these options below:
Use Plastic Film
The most popular way is using plastic film. You can usually purchase plastic film kits at home improvement stores to apply to your windows. It’s easy to install and very cost-effective.
With plastic film, you use double-sided tape to apply the film to your windows, then shrink-to-fit the film with a hairdryer. Shrinking the film creates an airtight seal, ensuring no heat escapes.
Unfortunately, while it is easy to do, it is very noticeable and doesn’t look appealing if misapplied.
Consider Magnetic Film
The next option would be a magnetic film. Magnetic film kits are also available at home improvement stores. All you would do is install magnetic strips around your window and then cut the film to match the size of the frame.
This option can be a bit more challenging to install compared to plastic film. Magnetic film also doesn’t give you a very great seal. However, it’s still better than nothing.
Avoid Reflective Foil Insulation
The last option is to use reflective foil insulation. This material looks a lot like metallic bubble wrap and is commonly used for windshield sunshades. The reflective foil blocks light and helps to retain heat throughout your house.
However, for reflective foil to work efficiently, you need to get the seal right, which can be challenging. So, we recommend avoiding this option, as it’s more difficult and tends to cost more than plastic and magnetic film.
Decorate With Thermal Curtains and Blinds
Your curtains and blinds probably already help with insulation in your house. Still, it’s a good idea to thermal curtains and blinds because they are specifically designed to keep out the cold.
Thermal curtains are thicker than normal curtains but don’t really look any different. Because of the thickness, they keep the cold locked in between the fabric and the window. They also help to block out light if that’s another problem you’re trying to solve.
Thermal blinds offer the same benefits as curtains. The only difference is they’re blinds.
The more layers you add to your windows, the better your insulation will be. So, by adding thermal curtains and blinds, you can be sure that they’ll keep the cold trapped by your windows. Not to mention, curtains and blinds add a nice decorative touch to your home.
Unfortunately, these options tend to cost more than typical curtains or blinds. But you can be sure that spending the money now will save you more in the long run by lowering your heating bill.
Cover Basement Window Wells
Uncovered window wells let in cold and moisture. Of course, the main reason you have window wells is to let light into the basement, so why would you want to cover them?
Covering your window wells blocks moisture, snow and ice from getting into the well and possibly seeping into your home. Not only that but covers also help to keep the wells clean. You can also choose clear plastic options that still let the light in but help you save money by keeping the cold and water out.
When it comes to covering your window wells, you have options. You can purchase a cheap covering from home improvement stores to quickly fix the issue. However, this option probably won’t last as long and you may need to keep replacing it.
If you choose to spend more money, you can get stronger coverings that specifically fit your wells. The downside to this option is that it will be expensive and may take some time to have them installed. The good news is you won’t have to worry about replacing them often, and they’ll pay for themselves over time.
Use Draft Stoppers
Draft stoppers, or draft snakes, are long tubes made of fabric filled with insulation. If you’re crafty, you may be able to make one on your own with fabric and a sewing machine. You can also purchase them at any home improvement store.
This option helps to cover windowsills, especially where the window may have a draft. It’s a very quick and easy way to cover the openings. All you need to do is align the draft stopper on your windowsill, either along it or in front of the frame opening.
On the downside, a draft stopper will only block one area of the window. So, you may need to use multiple to cover many windows throughout your home.
Try Bubble Wrap
If you’re looking for a very quick and cheap fix, you might consider using bubble wrap on your windows. This option doesn’t last long. So, it’s better to use it as a quick fix while finding a long-term solution. It is not intended to serve an entire winter in Northern Illinois or Southern Wisconsin.
To use this option, cut strips of bubble wrap and insert them into the cracks and slits of your window. After that, cut the bubble wrap to fit the entire frame. To help the bubble wrap stick to your window, get it moist with a wet towel. Then, apply the bubble wrap with the bubble side on the glass.

Renowned Building Solutions can help you save money and keep your house warm by installing high-quality windows!
Avoid The Cold for Good and Invest in Better Windows!
Now that you’ve learned your options, you might be wondering “what is the best way to seal windows for winter?” The absolute best way is to invest in high-quality windows! You’ll save a ton of money throughout the year and not to mention your house will get a nice-looking upgrade. You’ll also find more benefits throughout the year than just no more drafts, like fewer pollutants and allergens and less mold-causing moisture.
Need Help Staying Warm?
We have options for you and would love to help you get started. Our company offers great financing solutions and gives great value for window renovation. We’re dedicated to taking the stress off you and earning your trust through transparency.
Renowned Building Solutions serves the Northern Illinois and Southern Wisconsin area with home improvement projects, such as high-quality windows to keep those drafts out. Contact us today to get a quote on your project!

